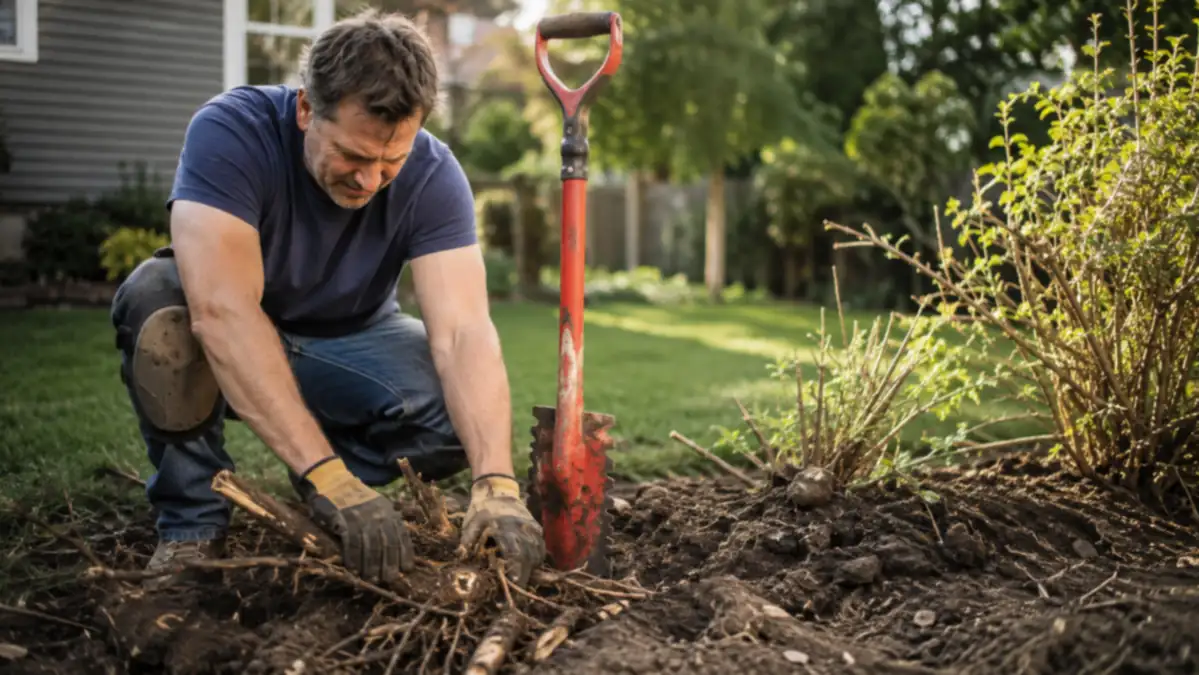
I still remember the afternoon I spent trying to pull an overgrown privet stump out of the corner of my yard with a regular flat spade. I pushed, I jumped on the shoulder of the blade, I rocked it back and forth, and the spade just kept skating off the roots without cutting into them. Two hours in, I had a sore back, a bent spade tip, and a stump that hadn't moved an inch. What I needed wasn't more muscle. I needed a blade that could actually cut through the roots instead of just shoving them out of the way.
That's the whole problem with old shrub roots, tree roots, and anything that's had years to get woody and dense. A standard spade is built to move loose soil, not saw through fibrous root material, so it either glances off or you're stuck chopping at it sideways with an axe you probably don't own. A serrated shovel, the kind with teeth cut into the edge of the blade like a saw, changes that math completely. Here is the process I use every time I've got a stubborn root system to get out, from a single shrub to a small tree stump.
The tool that turned this from a two-hour fight into a twenty-minute job
A serrated shovel with a real cutting edge, not just a sharp point, is what makes root removal manageable without a chainsaw or a mattock. The Root Slayer garden shovel has saw teeth running down both sides of the blade, so it cuts on the push and works roots loose on the pull instead of skating over them. It's the tool I reach for every single time now instead of dragging out a hatchet.
Amazon Check Today's Price on Amazon →Step 1: Call 811 and gear up before you dig anywhere near roots
This is the step people skip and the one that actually matters most. Before you cut into the ground anywhere on your property, call 811, the national utility locate service, or use the online request at your state's 811 site. It's free, and a crew comes out within a few days to mark buried gas, water, electric, and cable lines with flags or paint. I didn't know this the first year I owned my house, and I got lucky that the lilac roots I was cutting through weren't anywhere near the gas line that, it turns out, ran closer to that bed than I ever would have guessed. You don't get a second chance if a serrated shovel finds a gas line instead of a root.
Once the lines are marked and you know your dig area is clear, put on real gear. Sturdy boots with a solid sole, not sneakers, because you'll be stepping down on the shoulder of the shovel repeatedly and a root or rock underfoot can twist an ankle fast. Work gloves with some grip, since a serrated blade handle gets slick once your hands start sweating. Safety glasses or wraparound sunglasses too, because cutting through a root under tension can send small chips of wood or soil flying back at your face, and I've had that happen more than once on a root that snapped harder than expected.
If you're working near a septic line, an irrigation line, or a low-voltage landscape lighting cable, none of which 811 typically marks, walk the area first and think back to when those were installed relative to where you're digging. When in doubt, hand dig the first several inches with a trowel before you bring the Root Slayer in, just to confirm there's nothing shallow you missed.
Step 2: Map the root ball before you start cutting
Don't just start hacking at the base of the plant. Walk the drip line, roughly the outer edge of where the branches reach, and look for where roots surface or where the soil mounds slightly, which usually tells you where the major roots are running. For a shrub, most of the root mass is typically within a couple feet of the trunk in most directions, but older, larger shrubs and anything that's been in the ground more than five or six years can surprise you with how far roots have traveled looking for water.
I like to dig a shallow test trench a foot or so out from the base first, just six inches deep, to see what I'm dealing with before committing to the full dig. If I hit thick roots right away at that shallow depth, I know the root ball is close to the surface and wide. If the first foot is clean, the roots are likely running deeper and I'll need to dig down before I dig out.
This is also the point where I decide whether I'm removing the whole plant or just cutting back invasive roots that are heading somewhere they shouldn't, like under a patio slab or into a vegetable bed. If it's the second case, you don't need to dig up the whole root ball, just trace the offending root back a foot or two and cut it cleanly there instead of chasing the entire root system.
How to Remove Stubborn Roots With a Serrated Shovel
Step 3: Trench around the root ball before you try to pry anything
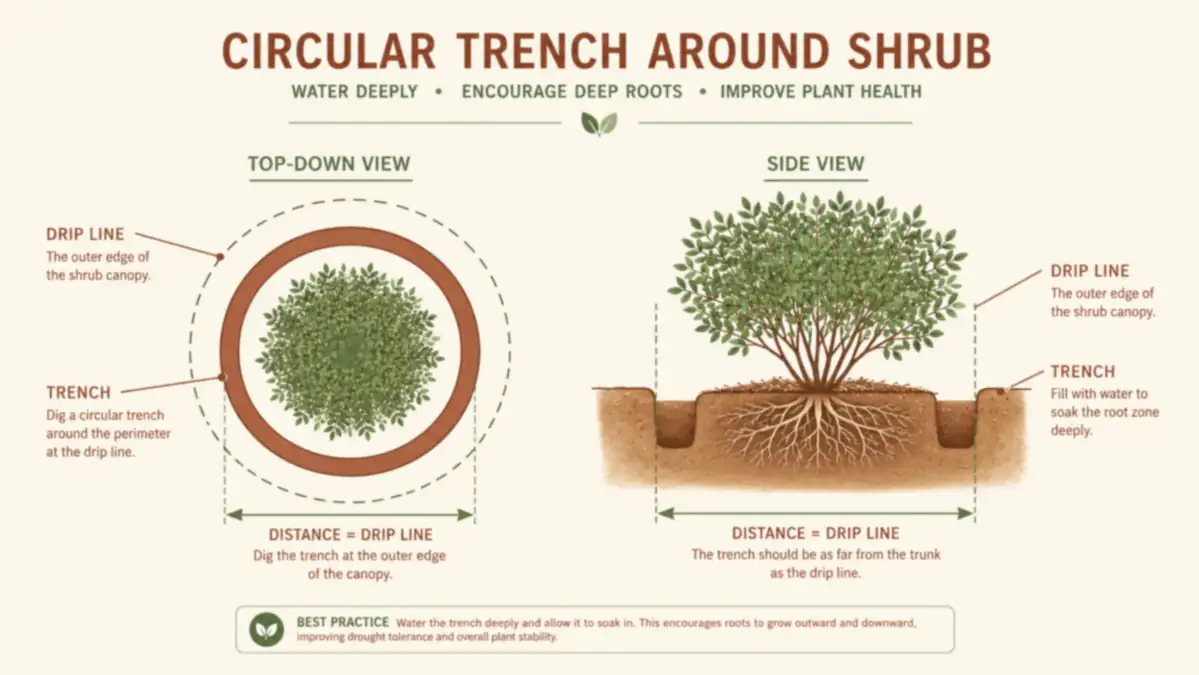
Once you know roughly where the roots sit, dig a full trench around the perimeter of the root ball rather than trying to pop the whole thing out from one side. Drive the garden shovel straight down at the edge of the root ball, step down on the shoulder to sink it, then rock it slightly to loosen soil before pulling it back out and moving a few inches over. Work your way in a full circle.
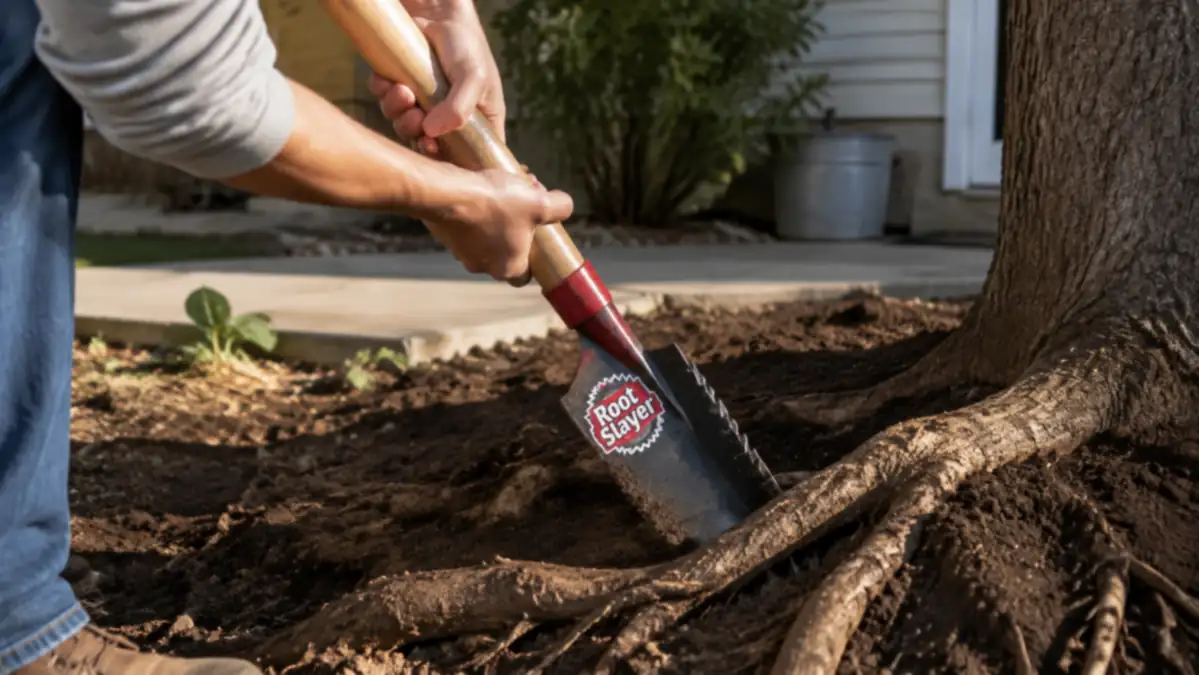
This is where the serrated edge does the real work. When the blade meets a root instead of open soil, don't fight it sideways the way you would with a flat spade. Angle the blade against the root and use a short sawing motion, pushing down while rocking slightly forward and back, letting the teeth bite in the way a hand saw would. Thin roots, anything under about an inch across, usually cut through in two or three passes this way. Thicker roots take more patience, and on anything over two or three inches, I'll often switch to loppers or a hand saw for that single cut and go back to the shovel for everything around it, since forcing a shovel through a root that thick over and over just dulls the blade for no real gain in speed.
Keep the trench a consistent depth as you go around, usually eight to twelve inches for most shrubs, deeper for anything that's been established a long time. You're not trying to sever every root in one pass on the first lap. Go around the full circle once to expose and cut what you can reach easily, then go around a second time once the trench is a little deeper and you can see roots you missed the first time.
Step 4: Work the root ball loose, don't just yank it
With the perimeter roots cut, most root balls will start to rock when you push against the base of the plant. Now you can use the garden shovel more like a lever, driving it in at an angle under the root ball and pressing down on the handle to pry upward, working around the circle a bit at a time rather than trying to pop the whole thing free from one spot. If it's not budging, that usually means there's still an uncut root somewhere, often a taproot straight down the middle that a perimeter trench won't reach. Reach into the trench, feel around, and you'll usually find it.
This is also where I've made the mistake of getting impatient and trying to muscle a root ball out before it's actually free, and either strained my back or snapped a root under tension that whipped back harder than I expected. Take the extra five minutes to find and cut the last stubborn root instead of forcing it. A root ball that's genuinely ready to come out will lift with moderate, steady pressure, not a fight.
Step 5: Clear the hole and check for leftover root fragments
Once the main root ball is out, don't call it done yet. Run the serrated shovel around the inside walls of the hole one more time to catch any smaller roots still radiating outward that you'll want cut back, especially if you're planting something new in that spot soon. Leftover root fragments from certain aggressive shrubs, privet and some viburnums in particular, can resprout from even a small piece left in the ground, so it's worth being thorough here rather than backfilling over roots you know are still alive.
If you're clearing out a stump rather than a shrub, the center taproot is usually the last and toughest piece. By this point you've already cut the lateral roots holding it in place, so it often comes down to one or two final cuts straight down alongside the trunk itself before you can rock the stump free. A serrated shovel handles this fine on smaller stumps, roughly two to three inches at the base, but anything bigger than that is genuinely a job for a mattock, a stump grinder, or a chainsaw, and I'd rather tell you that honestly than have you spend an hour fighting a shovel against something it wasn't built for.
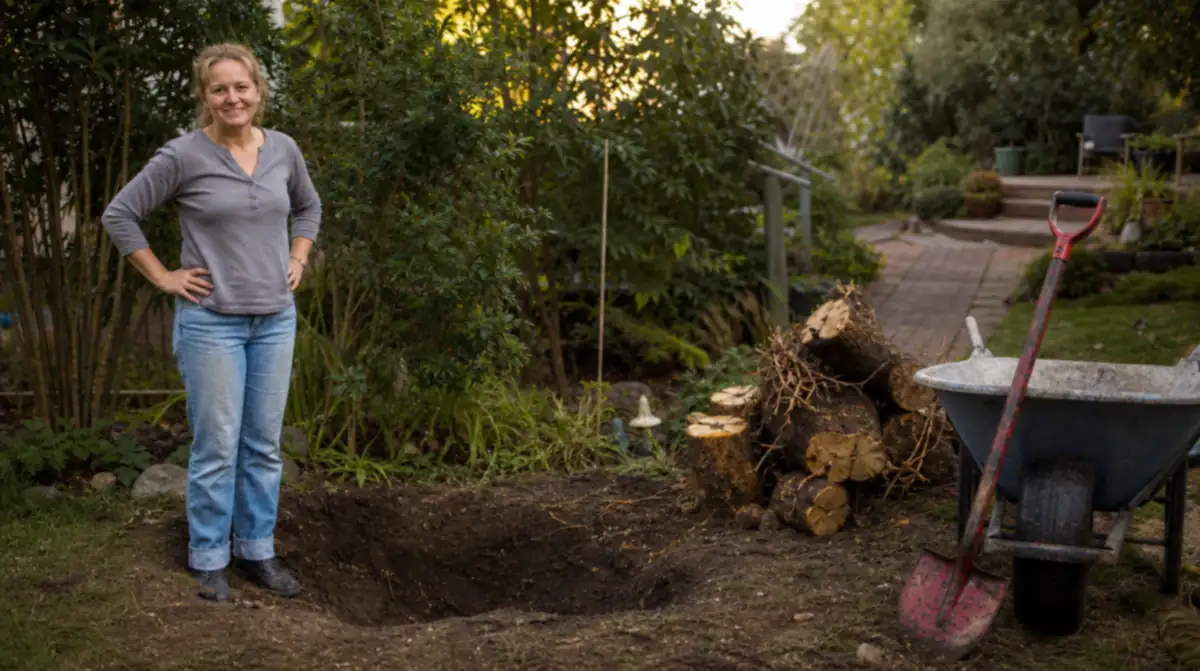
What Else Helps
A day or two of light rain, or a thorough soak from the hose the evening before, makes a noticeable difference in how easily a serrated shovel cuts through both soil and root. Dry, compacted clay fights you every step of the way, and I've turned what would have been an hour-long job into twenty minutes just by watering the area the night before. If your yard runs heavy clay like mine does in spots, give yourself the extra day to plan around watering first rather than trying to power through dry ground. For more on why the blade shape matters so much here, I broke down the mechanics in 10 reasons a serrated shovel cuts through roots, which covers the teeth pattern and why it outperforms a flat spade on this exact job.
Sharpen the serrated edge periodically with a file if you're doing this kind of work more than once or twice a season. The teeth dull faster than a plain spade edge because they're doing more cutting per stroke, and a dull serrated shovel loses most of its advantage over a regular one. I keep a cheap flat file in my garage specifically for touching up the teeth after a big root job. If you want the longer view on how the Root Slayer holds up across a full season of this kind of use, including where I've found it falls short, I laid all of that out in my honest review of the Root Slayer shovel.
A stubborn root doesn't need more force behind the shovel. It needs a blade that can actually cut it, and the patience to trench around it instead of fighting it from one side.
Got a root ball fighting you right now?
Whether it's a shrub that's overstayed its welcome or a root sneaking under a patio slab, the right blade turns this from an afternoon of frustration into a manageable job. The Root Slayer's serrated edge is what finally got me through roots a flat spade just bounced off.
Amazon Check Today's Price on Amazon →