

The privet hedge along my back fence got away from me for two summers running. I kept telling myself I'd get to it next weekend, and next weekend kept turning into the weekend after that, until it was pushing seven feet tall, bulging out over the walkway, and starting to go bare and woody in the middle where sunlight hadn't reached in years. By the time I finally dragged a ladder out there, I wasn't looking at a trim anymore. I was looking at a rescue job.
If your hedge looks anything like mine did, the good news is that shaping an overgrown hedge back into something respectable is almost always doable without ripping it out and starting over. The bad news is that it takes more patience than muscle, and rushing it with an underpowered hedge trimmer or the wrong technique is how you end up with a hedge that looks worse than before you started, or one that doesn't leaf back out at all in the spots you cut too hard. Here's the process I use now, every single time, whether I'm bringing a hedge back from neglect or just keeping one in shape through the season.
The tool that actually made this job doable for me
A dull or underpowered trimmer turns an overgrown hedge into an afternoon of frustration. The WORX 22 inch cordless hedge trimmer has dual-action blades that cut clean on both the push and the pull stroke, so you're not fighting thick, woody growth one branch at a time. It's light enough to hold up at shoulder height for longer than a corded or gas model, which matters more than people expect once you're an hour into a job like this.
Amazon Check Today's Price on Amazon →Step 1: Check the hedge, the calendar, and yourself before you touch a blade
Before any cutting happens, walk the full length of the hedge and actually look at it. Note where it's dense and healthy, where it's gone thin or bare, and where branches have grown so far past the main body that they're going to need a hard cut rather than a light trim. I learned the hard way that skipping this step means discovering a wasp nest or a bird's nest halfway through a cut, which is both startling and, in the case of a nest with eggs or chicks in it, something you legally need to leave alone in a lot of places until the birds have fledged. Give the hedge a slow visual pass and a gentle shake near the base before you start.
Timing matters too. Late winter or very early spring, before new growth starts, is the best window for a hard renovation cut on most hedge types, because the plant has all season to recover and fill back in. If you're reading this in the thick of summer with a hedge that's already out of control, you can still do a lighter reshaping now and save the more aggressive cut for the next dormant season. Avoid trimming during a heat wave or drought stress, since a stressed plant recovers from hard pruning much more slowly than a healthy one.
Gear up before you start cutting, not after you nick something. Safety glasses or a face shield, sturdy gloves, and closed-toe shoes are the minimum. Long sleeves are worth it even in warm weather, since privet and boxwood clippings can leave surprisingly sharp little scratches on bare forearms. If you've got kids or pets that treat the yard as their domain, get them inside or fenced off well away from the work area before the trimmer comes out, and keep it that way until you're done and the clippings are cleared.
Step 2: Gather your gear and set up a safe work area
Beyond the trimmer itself, you'll want a sturdy step stool or short ladder for taller hedges, a tarp or drop cloth to catch clippings for easier cleanup, hand pruners for any single thick branches too woody for the trimmer's blades, and a rake. Check your trimmer's battery is fully charged before you start, and if you've got a second battery, charge that one too. Nothing kills momentum on a big hedge like a dead battery halfway through one side and a spot where the new growth doesn't quite match the old.
Clear the immediate work area of anything you don't want clipped or tripped over, garden hoses, lawn ornaments, kids' toys, patio furniture. If the hedge runs along a walkway or driveway, block that section off or work at a time when foot traffic through there is unlikely. I lay my tarp along the base of the hedge before I start cutting rather than after, which saves a genuinely miserable raking session later, especially with a hedge this overgrown where the clipping volume is much higher than a routine trim.
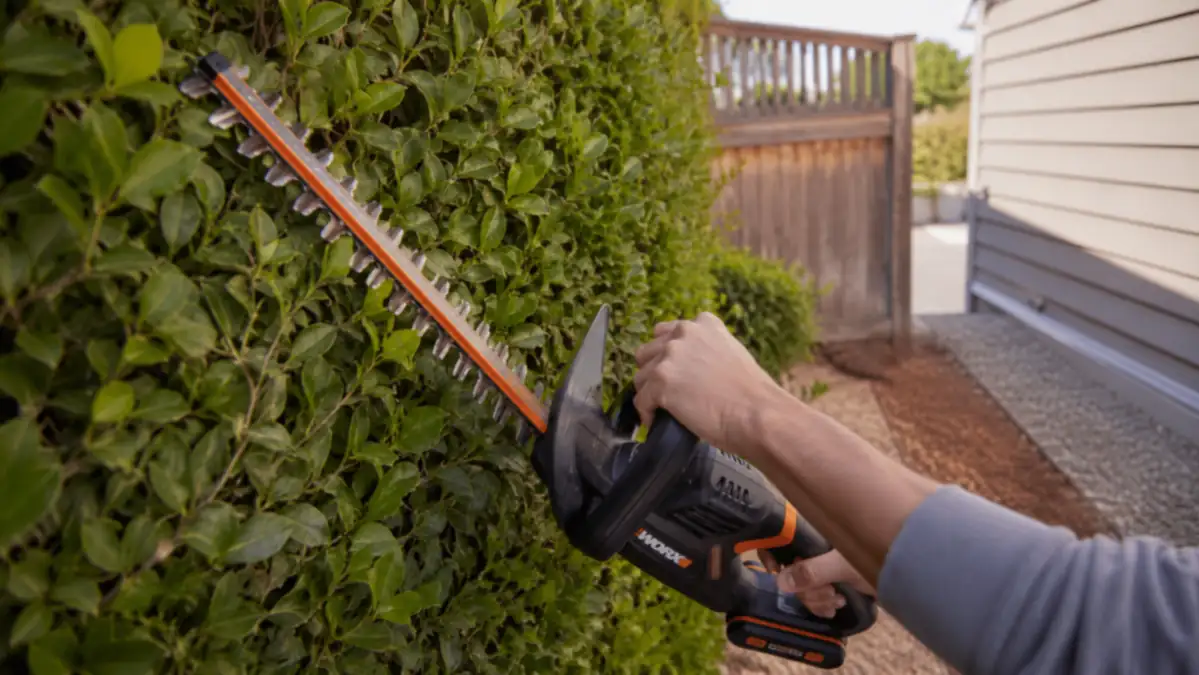
Keep both hands on the trimmer at all times once you start cutting. It's tempting to steady a branch with your free hand when you're reaching for an awkward angle, especially on an overgrown hedge with branches poking out in every direction, but that's exactly how people end up with cuts on their fingers. If a branch is in an awkward spot, reposition your ladder or your own stance instead of reaching around the blade with your other hand.
Step 3: Mark your shape before you make a single cut
This is the step almost everyone skips, and it's the one that separates a hedge that looks intentional from one that looks like it got attacked. Run a string line or a length of twine along the top of the hedge at the height you want, tied off to stakes or fence posts at each end. For the sides, the shape you want is called a batter, meaning the hedge is slightly wider at the base than at the top, like a very shallow trapezoid rather than straight vertical walls. This isn't just for looks. A hedge that's wider at the top than the bottom shades out its own lower branches over time, which is exactly how mine ended up bare and woody in the middle after years of being cut straight up and down or, worse, wider at the top.
You don't need string lines on every hedge, especially shorter ones where you can eyeball a straight top by walking back and checking your line from a distance every few minutes. But on anything overgrown, badly out of shape, or over four feet tall, the string is worth the ten minutes it takes to set up. I've cut a hedge freehand that looked perfectly level while I was standing right in front of it and turned out to dip six inches in the middle when I stepped back, and there's no fixing that after the fact without cutting the whole top down to match the low point.
Step 4: Make the first rough pass along the outside
Start with the sides, not the top, and work from the bottom up in overlapping horizontal sweeps. Keep the blade roughly parallel to the face of the hedge and let the dual-action blades do the cutting rather than forcing the trimmer through thick growth. On a hedge this overgrown, you're not aiming to finish the shape in one pass. The first pass is about knocking back the worst of the outer growth and getting the hedge roughly within a few inches of your target line, especially on branches that have shot out well past the main body of the plant.
If you hit a branch too thick for the trimmer to cut cleanly, which happens more often than you'd expect on a hedge that's gone a couple of seasons without attention, stop and switch to hand pruners for that one branch rather than forcing the trimmer through it. Forcing a trimmer through wood it's not built for is how blades get dull fast, and it's also how you end up with a ragged, torn cut instead of a clean one, which heals slower and looks worse while it does.
Work in short sections and step back to check your progress every few minutes rather than trying to eyeball the whole hedge as you go. It's a lot easier to catch and correct a dip or a lean early than after you've already cut the whole length. This is also where the lighter weight of a cordless trimmer earns its keep. On a hedge this size, you'll have the trimmer up at shoulder height for a stretch, and a heavy corded or gas model will have your arms shaking well before you're done, which is exactly when mistakes happen.
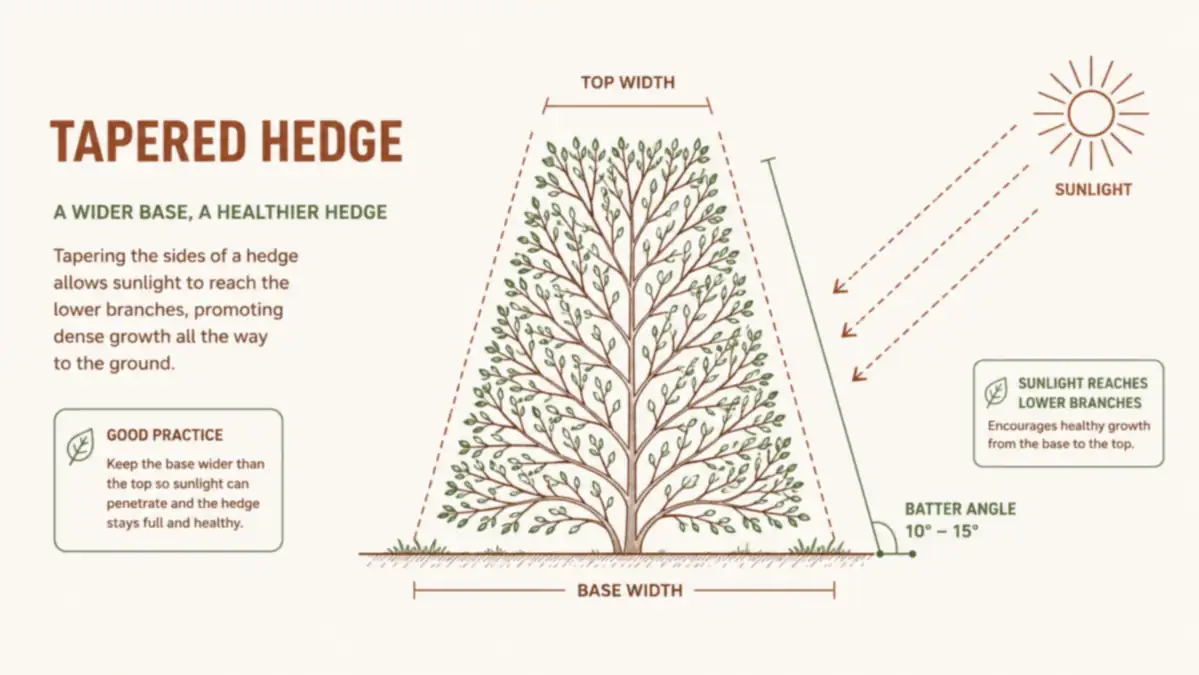
Step 5: Taper the sides, square the top, and clean up the base
Once the rough shape is in, go back over the sides with the string line as your reference and clean up the taper, checking from a few different angles as you go, not just straight on. Then move to the top, cutting along your level string line in slow, steady horizontal passes. Resist the urge to rush this part. The top is the line your eye follows down the whole length of the hedge, so a wave or a dip here is far more noticeable than an imperfect side.
For a hedge this overgrown, don't try to get it perfectly tight and formal in one session, especially if you're doing a hard renovation cut back into old wood. Cutting hard into bare, woody growth that hasn't seen light in years can shock the plant, and some hedge types, boxwood especially, recover slowly from a severe cut. If you're not sure how far back your specific hedge can safely be cut, do a moderate reshaping this time and plan a second, harder cut the following dormant season once you've confirmed it's putting out healthy new growth.
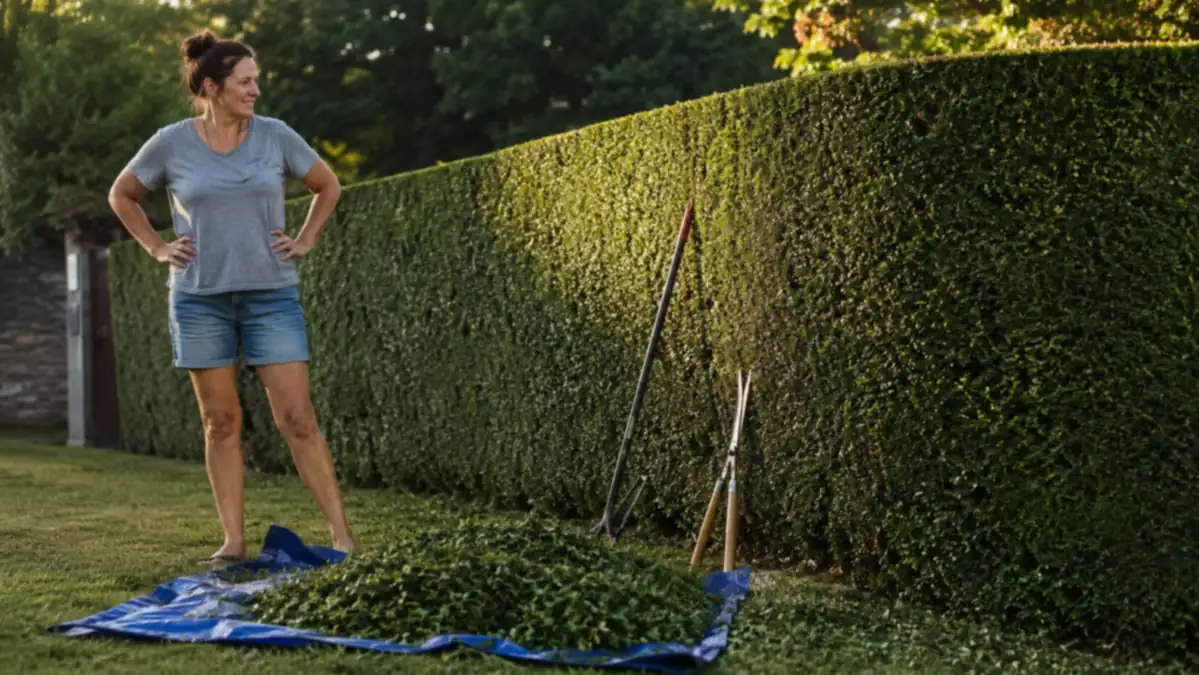
Finish by checking the base of the hedge for any low, straggly growth poking out below your line, and tidy that up too, a hedge that's crisp up top but scraggly at the bottom still looks unfinished. Once the cutting is done, that tarp you laid down earlier makes cleanup fast. Fold it inward from the edges to funnel the clippings into a pile rather than trying to rake up scattered trimmings from grass and mulch, which takes twice as long and never gets it all.
What Else Helps
Water the hedge deeply the day after a hard trim, especially if you cut back a significant amount of growth, since the plant is putting energy into healing cuts and pushing new growth, and it needs the moisture to do both. A light feeding of general purpose fertilizer a couple of weeks later can help along the recovery too, though skip it if you're heading into a hard frost, since you don't want to push tender new growth right before cold weather hits it. If you're weighing a cordless trimmer against sticking with manual shears for a hedge this size, it's worth reading through 10 reasons a cordless hedge trimmer beats manual shears before you decide, because the difference shows up most on exactly this kind of overgrown, high-volume job.
Once a hedge is back in shape, keeping it that way is a much smaller job than the reset was. I trim mine every four to six weeks through the growing season now instead of letting it go a full year or two between cuts, and each of those maintenance trims takes maybe twenty minutes instead of the better part of an afternoon. If you want the fuller rundown on how the WORX trimmer has held up for me across two full seasons of that kind of regular use, I wrote it all up in my honest review of the WORX hedge trimmer, including the one thing about the battery life I wish I'd known going in.
An overgrown hedge isn't a hedge that needs a stronger trimmer. It's a hedge that needs a plan, a string line, and the patience to take it in passes instead of all at once.
Ready to take on the overgrown hedge in your yard?
Whatever shape your hedge is in right now, the right tool makes the difference between an afternoon well spent and a job you keep putting off. The WORX cordless hedge trimmer's dual-action blades and light build are exactly what got me through my own overgrown privet without wrecking my arms or the hedge.
Amazon Check Today's Price on Amazon →