
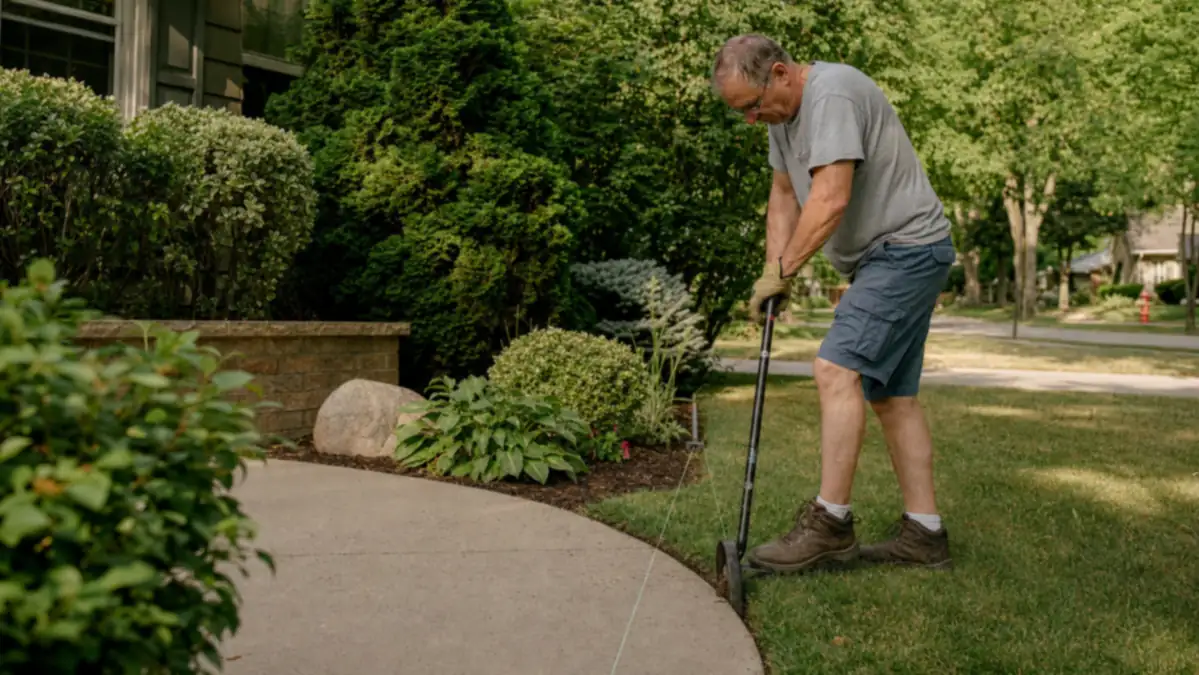
For about six years I edged my front walkway the same way, eyeballing it. I'd stand at one end, guess where the line should go, and start stomping a half-moon edger into the grass, correcting as I went. The result always looked fine from the porch and pretty rough up close, drifting an inch or two one way then the other over thirty feet of concrete. It wasn't the tool's fault. It was mine, because I never once marked the line before I started cutting.
The fix turned out to be almost embarrassingly simple. A manual edger, the kind you step on and rock forward one bite at a time, will cut exactly where you put it. If you guide it with a straight guess, you get a straight-ish line. If you guide it along a taut string or a hose laid in a curve, you get a line that actually looks intentional. Below is the process I use now on my own CKLT half-moon edger, start to finish, including the two mistakes that cost me a re-do and the one safety step I almost skipped the first time I tried to edge deeper than usual.
Tired of a border that drifts a little wider every time you edge it?
A manual half-moon edger with a real spring steel blade and a wide footplate is what actually lets you follow a marked line instead of fighting a wobbly string trimmer. Check today's price on the CKLT edger before your next edging afternoon turns into another wavy border.
Amazon Check Today's Price on Amazon →Step 1: Call 811 and gear up before you cut anywhere near depth
This is the step I want to cover first because it's the one people skip, and it's the one that actually matters most. A manual edger drives a flat steel blade six to eight inches into the ground with real force behind it, and that's plenty deep to hit a shallow sprinkler line, a low-voltage landscape lighting cable, or worse. Before you cut a new edge anywhere on your property, especially somewhere you haven't edged before, call 811, the national utility locate service, or file the request online at your state's 811 site. It's free, and a crew typically comes out within a few days to flag buried gas, electric, water, and cable lines. I didn't bother the first spring I owned this house and got lucky that the run I was cutting wasn't anywhere near the gas line that, as it turned out, sat closer to that bed than I'd have guessed.
811 won't typically mark private lines like sprinkler tubing or low-voltage lighting cable, so if you know you've got irrigation running near the border you're about to edge, walk the area first and think back to when it was installed relative to where you're cutting. When in doubt, hand dig the first few inches with a trowel before you bring the edger in.
Once you know the ground is clear, put on real gear. This is a foot-powered blade, so sturdy closed-toe boots with a solid sole are not optional, sneakers won't protect your foot if the edger slips off a root or a buried rock while you're stomping down on the footplate. Work gloves help too, since the long rubber handle can get slick once your hands start sweating, and safety glasses aren't a bad idea if you're cutting through anything dry and rocky that might kick up debris. I also keep the blade wiped down as I go if I'm cutting through anything gritty, since caked-on soil on the footplate makes it harder to feel exactly how deep I'm stepping.
Step 2: Mark your line with a hose or string before you cut a single stomp
This is the single change that fixed my drifting border, and it takes maybe five extra minutes. For a straight run, like along a walkway or driveway, drive a stake at each end and pull a mason's line or a length of string taut between them a couple inches above the grass. That line is your guide. You're not eyeballing anything, you're cutting directly under a string that doesn't lie to you the way your own sense of straight does after the first ten feet.
For a curved bed line, a garden hose works better than string because you can lay it in a gentle arc and actually see the curve from a distance before you commit to it. Walk away, look at the shape from the porch or the driveway, and adjust the hose until the curve looks right. I've re-laid a hose three or four times on a single bed before I was happy with it, and that's a much cheaper mistake to fix than a cut you didn't mean to make. Once the line looks right, that's your guide for the edger.
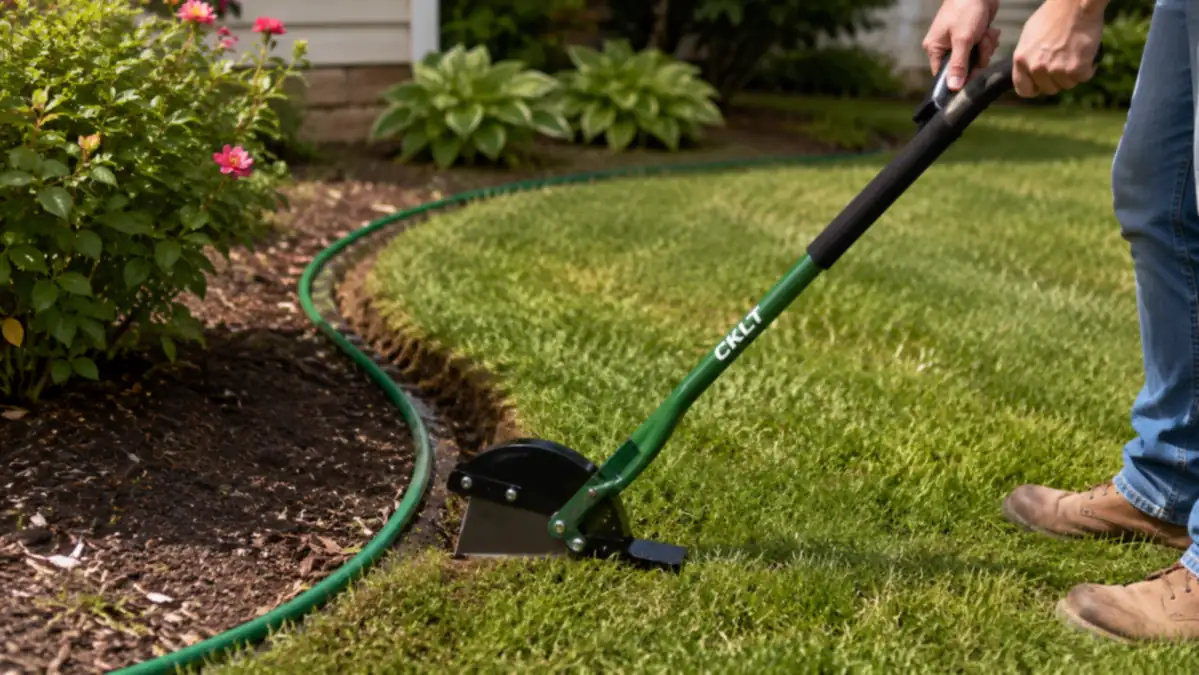
If you're working along an existing bed that's already roughly the shape you want, you can skip laying a new hose and just eyeball a consistent distance from the bed's mulch line instead, but for a brand new edge or a border that's drifted over the years, marking it first is worth the extra few minutes every time.
How to Cut Clean Lawn Edges With a Manual Edger
Step 3: Water hard ground the day before so the blade goes in clean
If your soil is anything like the compacted clay strip along my driveway, dry ground by August turns a satisfying job into a fight. A manual edger relies on your body weight to drive the blade down, and baked, dry clay can turn one clean stomp into three or four just to get the same depth. The fix is boring but it works, run a hose or sprinkler over the line you're planning to cut the evening before, or the morning of if you're edging later in the day. You're not trying to soak the yard, just soften the top six to eight inches enough that the blade slides in instead of bouncing off.
I learned this the hard way trying to edge that same driveway strip on a dry August afternoon with no watering beforehand. My knee was sore the next morning and the line still came out rougher than usual because I was muscling the blade instead of letting it cut. Twenty minutes of watering the night before makes a bigger difference to how this job feels than almost anything else in this list.
Step 4: Work in overlapping cuts along the full line, don't chase depth in one spot
Start at one end of your marked line, step onto the wide footplate with your full weight, and rock the blade down and slightly forward in one motion. Pull it back out, move over four to six inches, and repeat. Each cut should overlap the edge of the one before it rather than leaving small gaps between stomps, that overlap is what turns a row of separate bites into one continuous line instead of a dotted one. I try to keep a steady rhythm going, stomp, rock, pull, shift, rather than rushing one section and slowing down on another, since an even pace tends to produce a more even depth across the whole run than working in bursts.
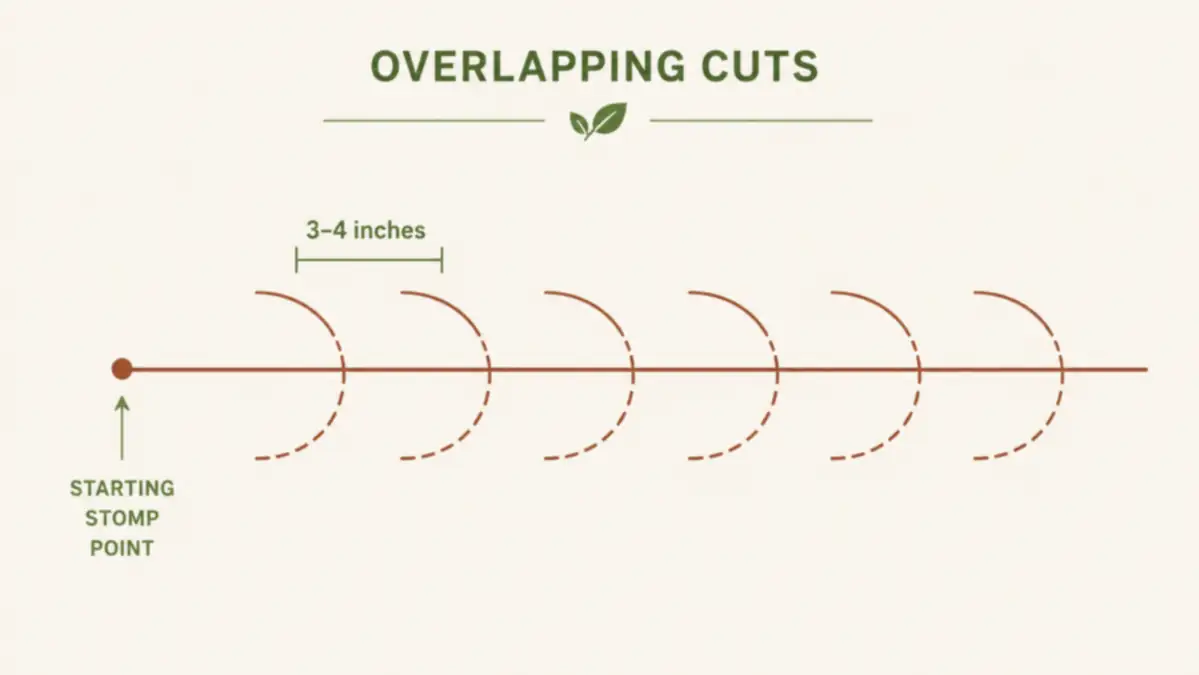
Resist the urge to get one spot perfectly deep before moving on. It's tempting to keep stomping the same section until you've gone as deep as the blade allows, but a consistent shallow-to-medium depth across the whole line looks better and cuts easier than a few deep spots connected by shallow ones. I aim for roughly the same four to five inches of depth the whole way down, going back over the entire line a second time if I want it deeper rather than digging one section down to six or seven inches before I've even started the rest.
On curved sections, take shorter bites than you would on a straight run. A six inch overlap that works fine on a straight walkway edge will pull the blade slightly off the marked hose line on a curve, so I go closer to three or four inches between stomps whenever the line bends, checking against the hose after every few cuts to make sure I'm still tracking it.
Step 5: Clean out the trench and pull the loose sod
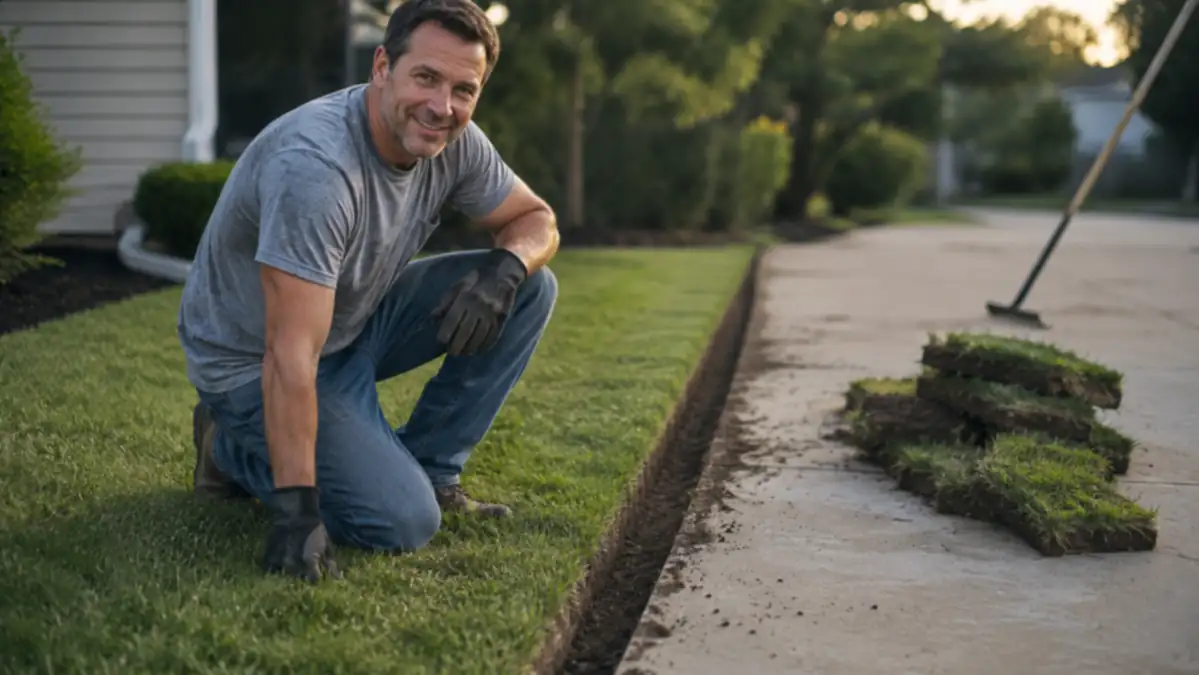
Once you've cut the full line, you're not actually done, the grass side of the cut still has a strip of sod sitting loose against the blade line, and leaving it there is the difference between a sharp edge and one that looks cut but still reads soft from a few feet away. Go back along the line with the edger angled slightly toward the bed or walkway and lever the loose strip up and out, or use a hand trowel or hoe if the strip is stubborn. Rake the loose grass and soil out of the trench so you can actually see the cut you made.
This is also the point where you'll find any spots you missed the first pass, a root that stopped the blade short, a section that's a little shallower than the rest. Go back over those spots individually rather than re-cutting the whole line again. Once the trench is clean, stand back and check it from a distance, from the porch or the street, the same way you checked the hose line earlier, since small unevenness that's hard to see up close often jumps out from further away. I keep a short handled hoe nearby for exactly this cleanup pass, since dragging loose sod out with your hands after a long afternoon of stomping is the part of the job nobody enjoys.
What Else Helps
A freshly cut edge doesn't stay that way on its own. Grass has to fully regrow across the cut groove before it creeps back into the bed, and depending on how fast your lawn grows that can take anywhere from a few weeks to most of a season. I do a light maintenance pass, just re-tracing the same line with the edger, every four to six weeks during the growing season rather than waiting for the border to look ragged again and starting over from scratch. It takes a fraction of the time the original cut did because you're just cleaning up regrowth, not cutting fresh ground. For the specific reasons a manual edger holds that line better than a string trimmer ever did for me, I laid all of that out in 10 reasons a manual edger gives cleaner lines.
Keep the blade clean and dry between uses too. Wipe off any soil before you hang it back in the shed, and a light coat of oil on the steel once or twice a season keeps surface rust from creeping in, especially if you're storing it somewhere damp like I do. If you want the longer view on how this exact edger has held up across full seasons of use on my own yard, including where the wide footplate has been a real plus and where I'd manage expectations, I covered that in my honest review of the CKLT lawn edger.
A manual edger will cut exactly where you put it. The trick was never the tool, it was marking the line before I ever stepped on the blade.
Ready to stop eyeballing your borders?
A wide footplate, a real spring steel blade, and a line you've actually marked first are what turn edging from a guessing game into a repeatable five step job. Check the current price on the CKLT half-moon edger on Amazon and give your borders the straight line they've been missing.
Amazon Check Today's Price on Amazon →